12 April, 2011

TU-TU CUTE!

Yesterday while I was being all energetic and super crafty in-between loads of laundry I came up with another MUST DO project! I have mentioned Little Bears doll - Meagan before. I recently made a copy cat of 2 dance recital dresses for the doll, out of scraps. (see here) I was doing some tidying up in my craft corner and came across more dance costume scraps. I knew just what to make!


A copy cat rainbow tu-tu! It is the cutest thing ever! Total length is about 5 1/2 inches. I love it! It is exactly like the 12 I made for Little Bears ballet class, they are dancing to "Somewhere Over The Rainbow". I had it made in about half an hour, and so I dressed Meagan in it and set her to wait on Little Bears bed (really I just wanted an excuse to play with her dolls!) She was thrilled! I love the loud WHAAA!!!??? That came from her when she spotted Meagan in all her tu-tu cute glory!

11 April, 2011

Pretty Pillows


I bought throw pillows, 3 of them, about a year ago to put on my bed. I like pillows, Papa Bear does not, but since I make the bed he has no real reason to complain. Well, today I had all kinds of extra energy and ideas rolling around in my head and one of them had to do with my pillows. They are your standard 12 inch square pillow, found for $6 at a store that is supposed to be a grocery store, but I buy way more not-grocery stuff there than groceries. Anyway, I digress from my point. I wanted to dress up my pillows and since my car is on week 4 of not working (grrr.....) I used things that I had around already. I chose orange decorations on purpose! You'll have to wait to see why!

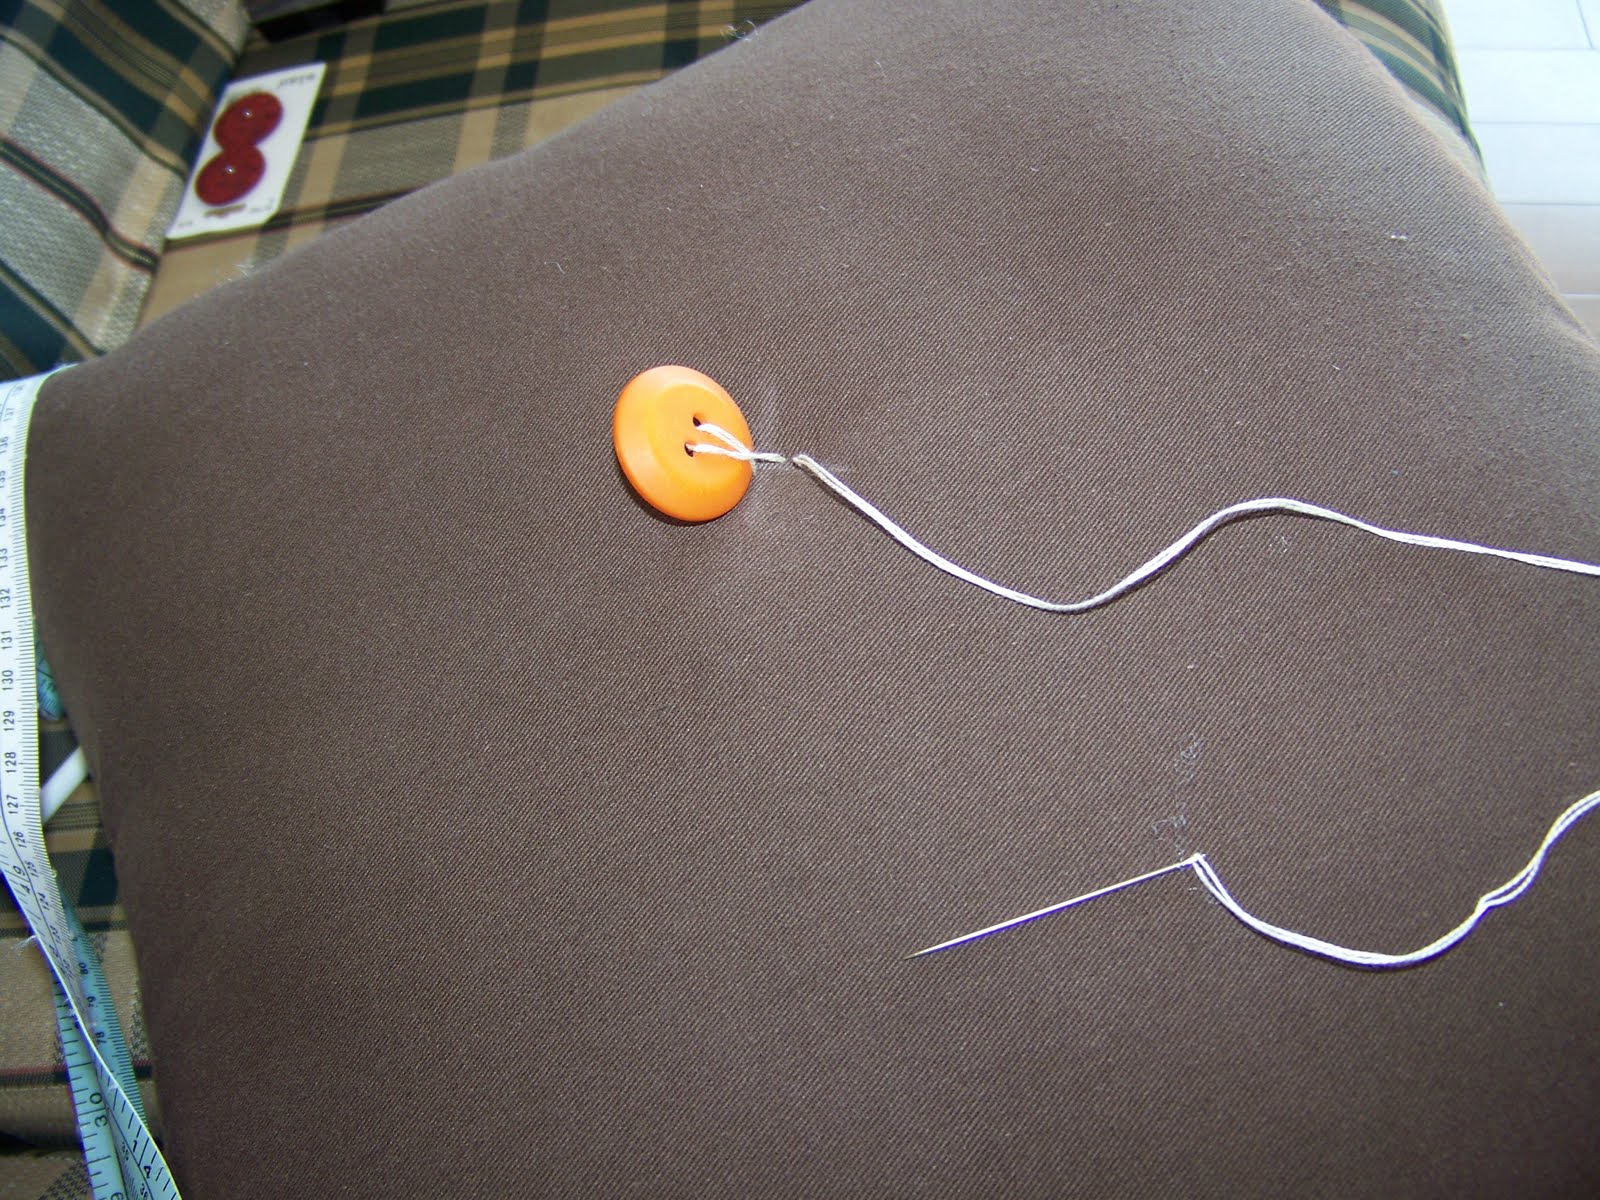
Step 1 - measure and mark the center of the pillow, I am no good at "eye balling" anything. Mark on the front AND the back so you can keep them both centered.


Step 2 Thread a long needle with whatever you are sewing with, DON'T knot it. I used an heavy thread, push the needle through the pillow, leave a long piece, thread on the button, then push the needle back through the pillow. Then repeat. You should have the long thread and the needle on the same side of the pillow at this point. I kept the tension very loose at this step.


Step 3 Carefully, and without yanking too much, pull the thread tight until the indent is how deep you want. Then simple tie the 2 threads in the back several times to hold it. TA-DA!! I then hot glued a rhinestone in the middle of the button to hide the thread.


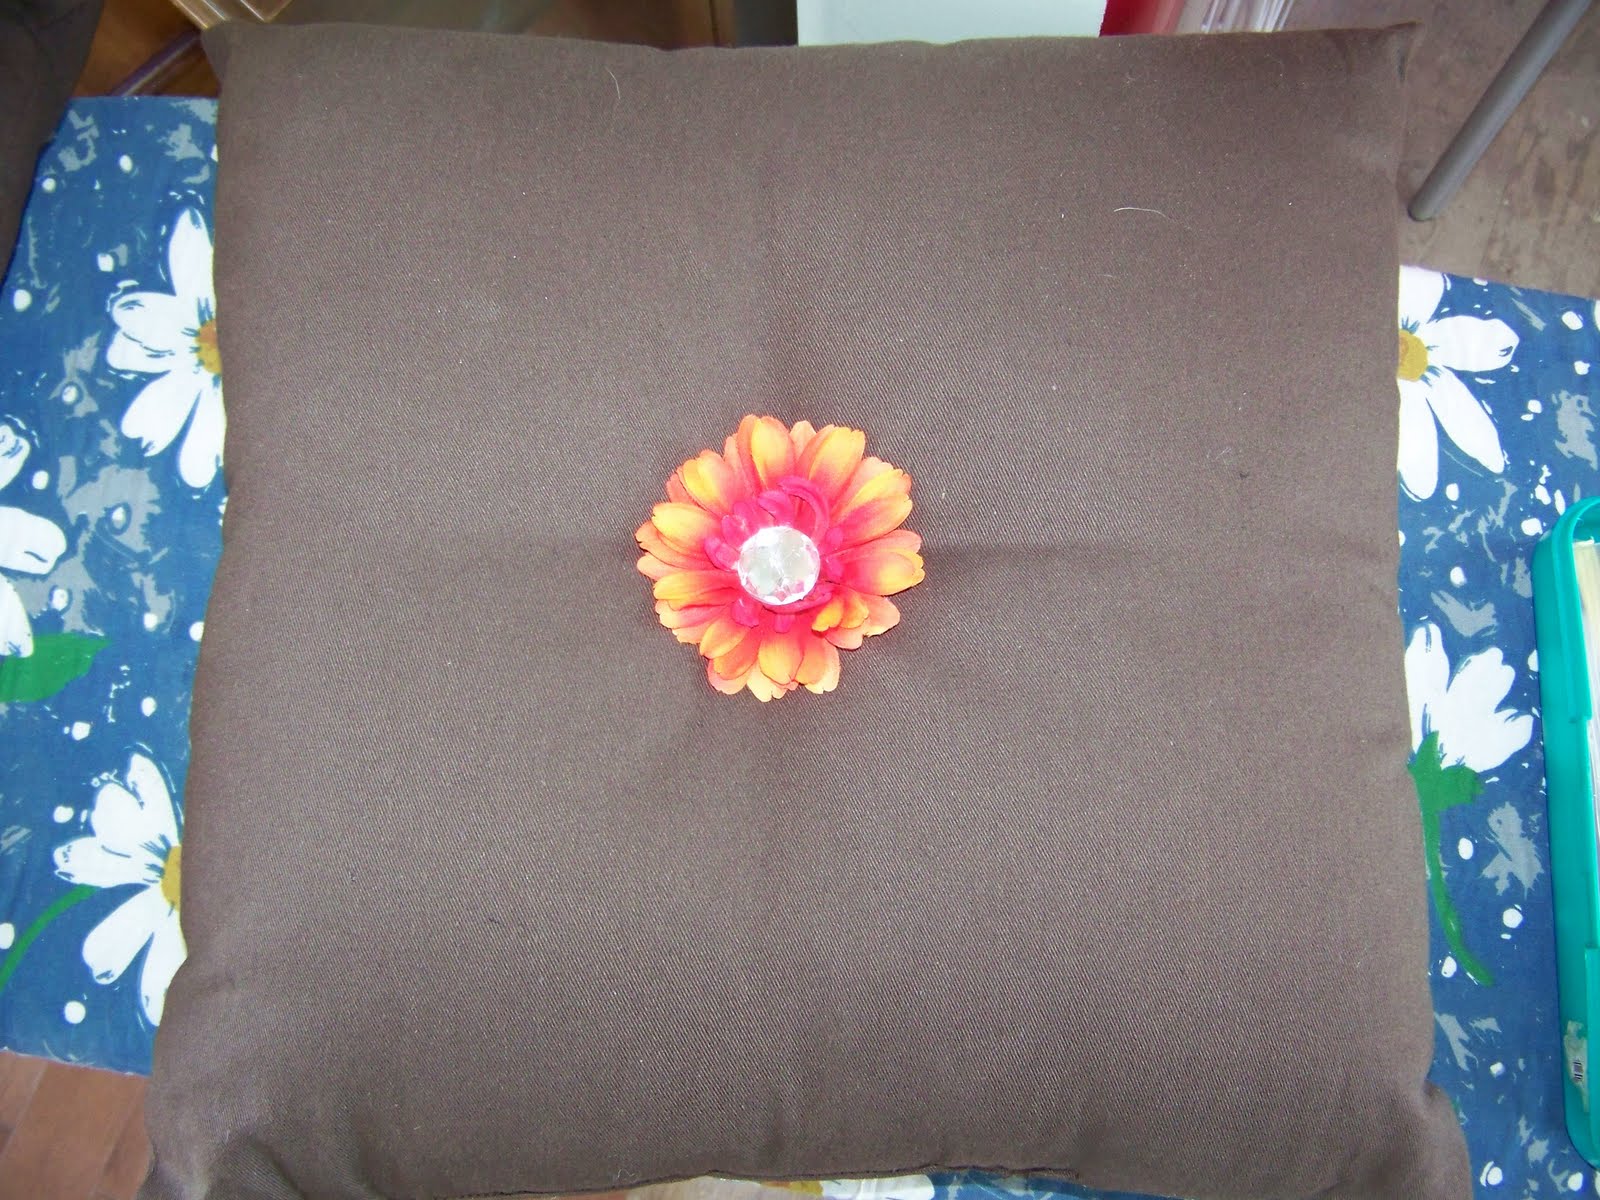
The other 2 pillows I did I put a flower on. I followed the same method as I did when I put on the button. And again I hot glued a large rhinestone in the center to hide the thread.


Here they are on the bed. LOVE! Super easy, and super cheap if you get creative and use what you already have! I'd love to see yours if you make some!

06 April, 2011

Treasures

Remember my sewing machine from my last post? Ever since I posted about wanting to use it in my living room the history of the sewing machine has been on my mind. I knew it belonged to my Grandma, and then my Mother, but beyond that I didn't know anything.

I did some emailing and some searching, and found out quite a bit more information. First off, Thanks to technology and search engines I actually found the production date for this machine. Not just an approximate time, but the actual production date! I got so excited!

I also got some really good historical information from my Uncle, who is a family history buff. I have learned a lot not only about the sewing machine but my Grandmother. Learning all these new things has kind of put me into an emotional overload today, so I am not ready to share everything. I have promised my family I would compile all the new information into a essay/story and share it with them. I am looking forward to doing that next week. One thing I learned, My Grandma loved her sewing machine, and making things for her family. Something that we share.